


To Build or Not to Build an Open Kitchen: A Personal Journey
In today's blog, I want to share with you my experience of transforming a small, somewhat gloomy kitchen into a space that suits my needs, all while keeping a tight grip on the budget.
The Original Layout
Originally, my kitchen was quite compact, tucked behind a wall separating it from the dining area. This layout significantly hindered ventilation and natural light. The refrigerator, placed within the kitchen, contributed to the cramped feeling. The L-shaped countertop layout was far from ideal for daily use.
The Transformation
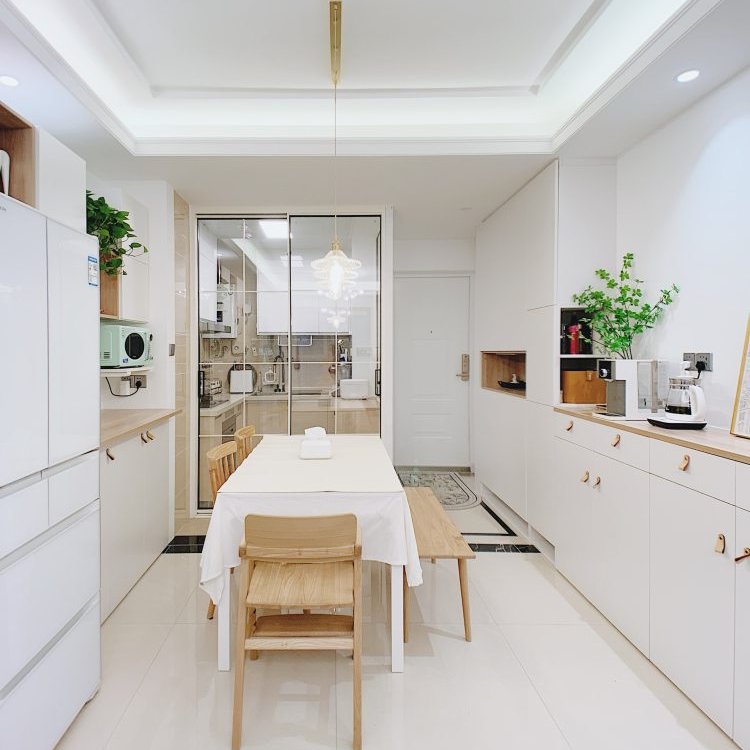
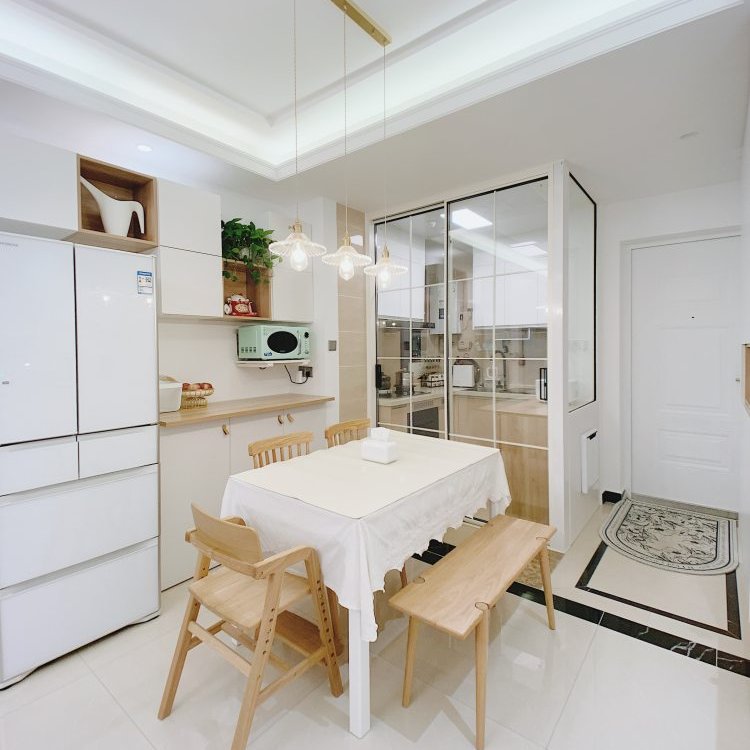
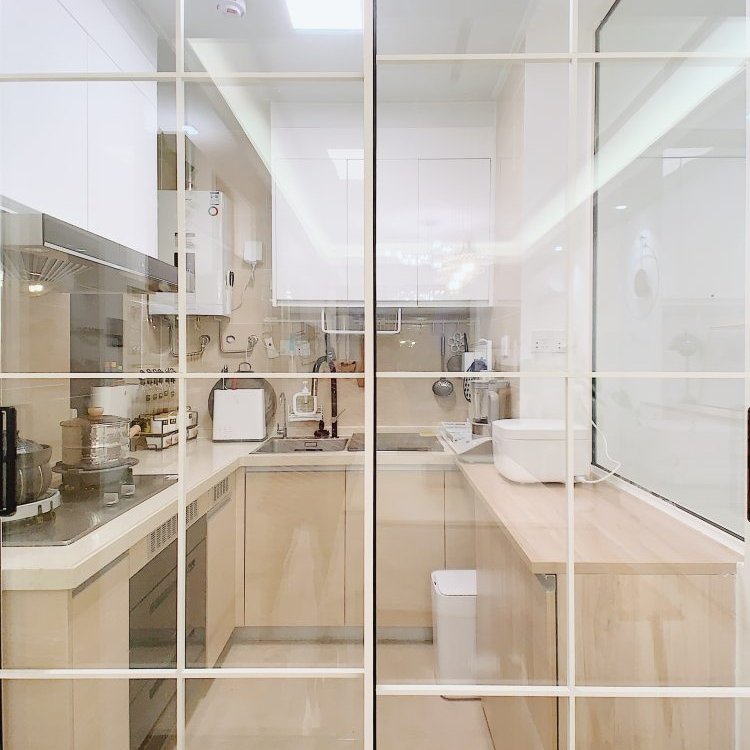
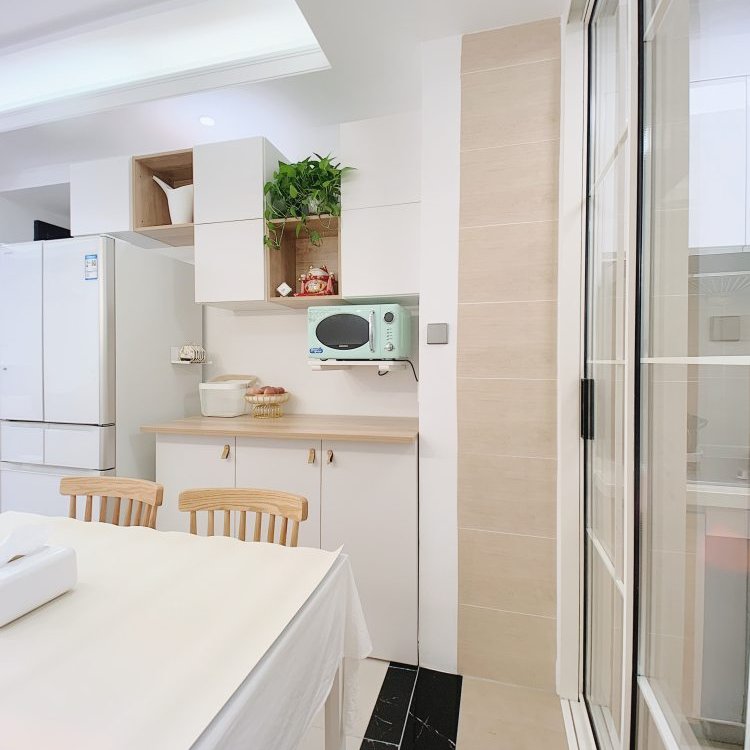
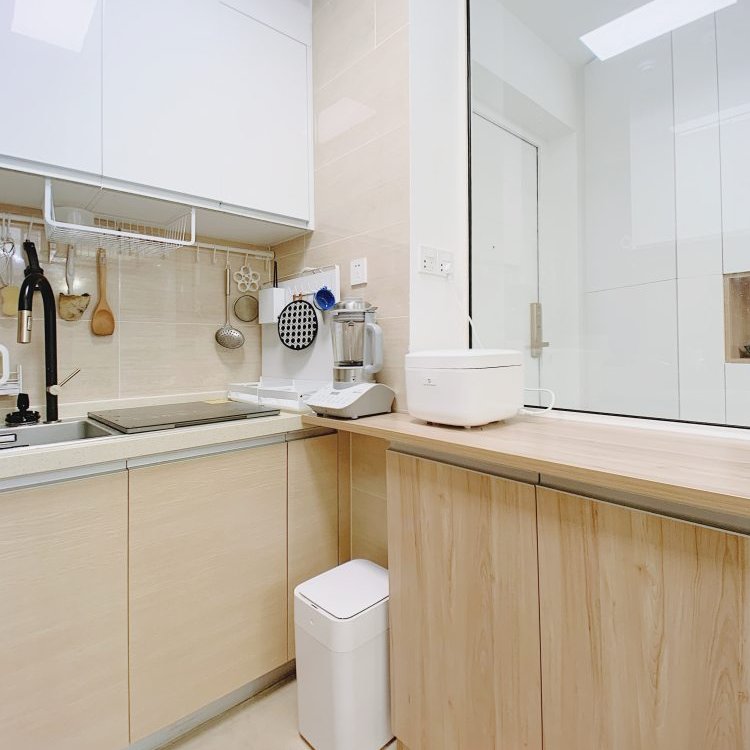
The first major change was demolishing two walls of the kitchen. This immediately improved the relationship between the dining area and kitchen, enhancing both light and air flow. I relocated the refrigerator to the dining area, integrating it with a sideboard cabinet reserved for this purpose. Additionally, I extended the cabinet countertop, transforming the L-shape into a more functional U-shape. To make the dining area more spacious, I sacrificed a portion of the kitchen's inefficient space. Installing glass sliding doors and partitions in the kitchen not only provided an open feel but also helped in containing cooking fumes.
Cabinet Arrangement
Budget constraints led me to retain the original cabinets, adding only beneath the new countertop section. The new cabinets were chosen to match the existing ones, creating a seamless look. These new cabinets are primarily used for small appliances.
Kitchen Appliances
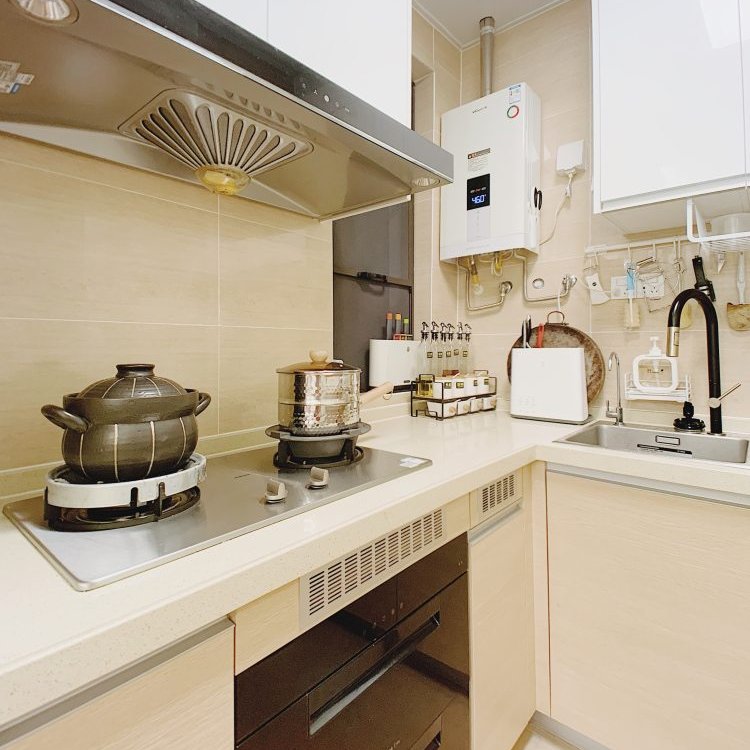
The apartment came with standard appliances: a range hood, stove, and a disinfection cabinet. I found placing the disinfection cabinet under the stove to be a space-efficient solution. The stove, equipped with double burners, is adequate for a family of 3-5. I must recommend a recent addition to my kitchen - a high-quality saucepan from Songbanwu, which heats up faster than regular pans and has an ample capacity despite its compact size. Their Black Stone Grass Earthen Pot is not only functional for soups and stews but also aesthetically pleasing in the kitchen.
Dishwasher and Waste Disposer
To make the most of the cabinet space under the sink, I installed a sink-type dishwasher, which has proved extremely useful. The waste disposer and dishwasher perfectly occupy the space under the sink.
Utilizing Gaps for Storage
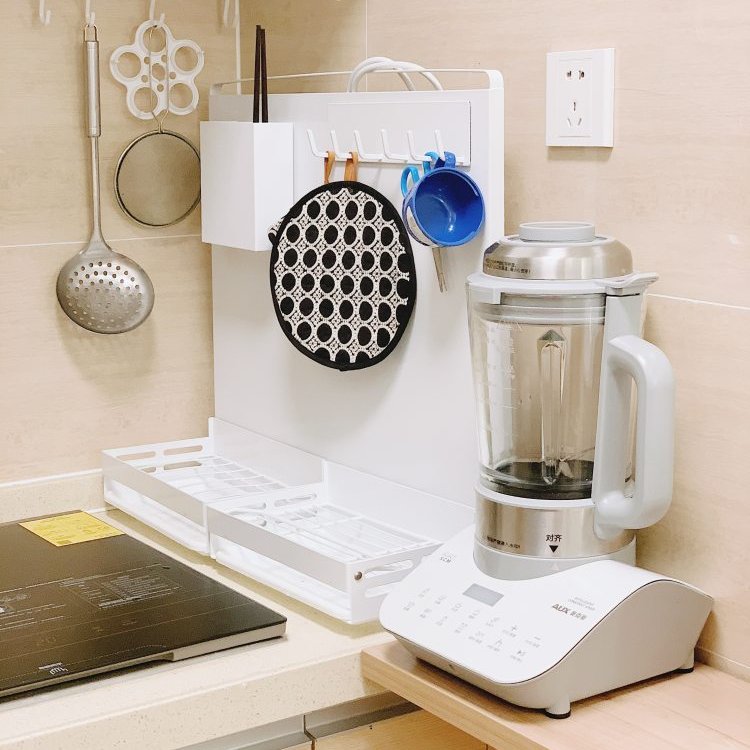
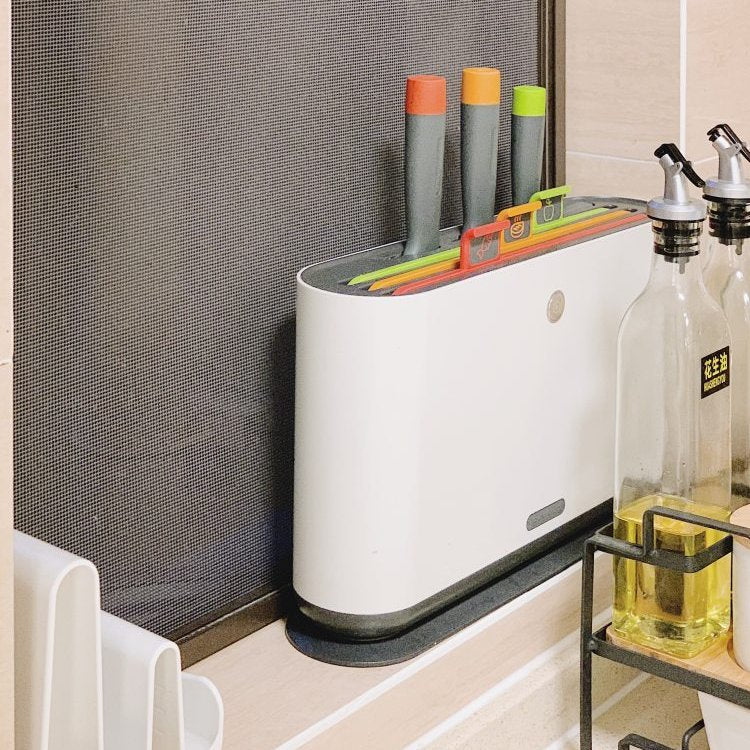
A 20cm gap next to the wall-mounted dishwasher was turned into a magnetic storage rack, with a dish drainer below and a utensil drainer with hooks above, making it convenient for drying dishes. The windowsill perfectly accommodates a knife sterilizer and a pot lid holder.
Reserved Space for Trash Bin
While customizing the additional cabinets, I reserved a space for the trash bin. This clever placement doesn't interfere with the cabinet doors and offers both functionality and aesthetics.
Kitchen Extension and Supplement
The main cooking area is behind the glass sliding doors, while the external cabinets serve as an extension for additional storage and display. The microwave and oven fit nicely in these cabinets, with lower units for storage and the countertop for prep work. The refrigerator, combined with these cabinets, blends seamlessly and is conveniently located for dining room access.
Transforming a kitchen space within a budget while maintaining functionality and aesthetics can be challenging but rewarding. Have you ever undertaken a similar project? What were your challenges and triumphs? Share your experiences in the comments below and let's exchange some great home improvement ideas! 🏡💡

Hailee Mercer has been writing about home design, travel and fashion for four years. She combines her training in interior design with experience working at a furniture store to create compelling articles that connect with readers on an emotional level.